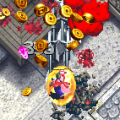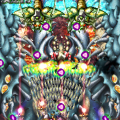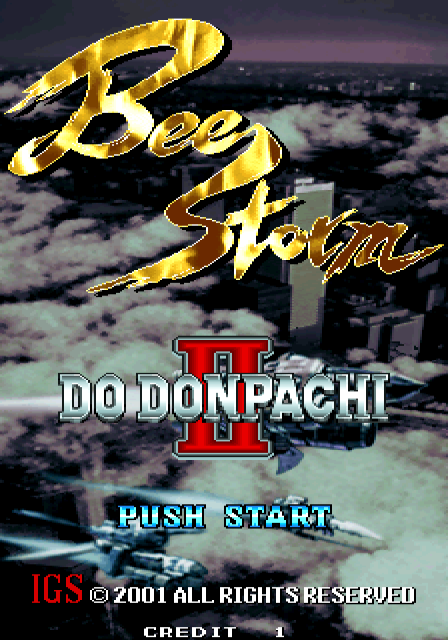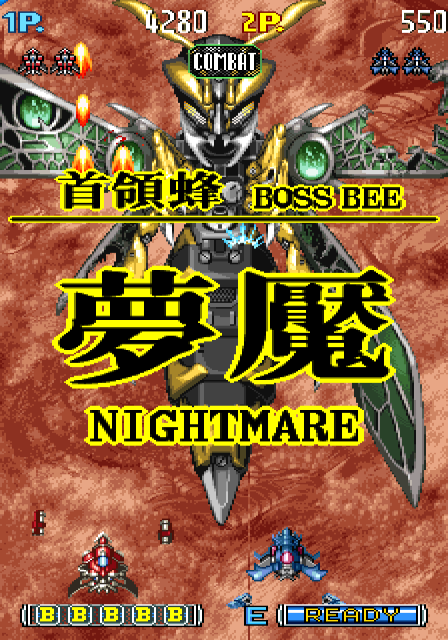
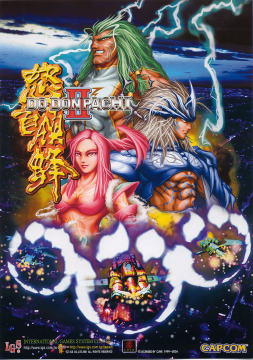
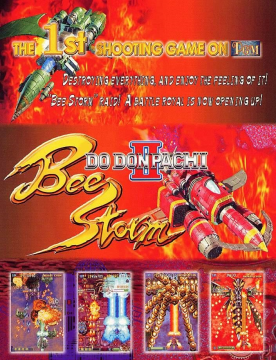

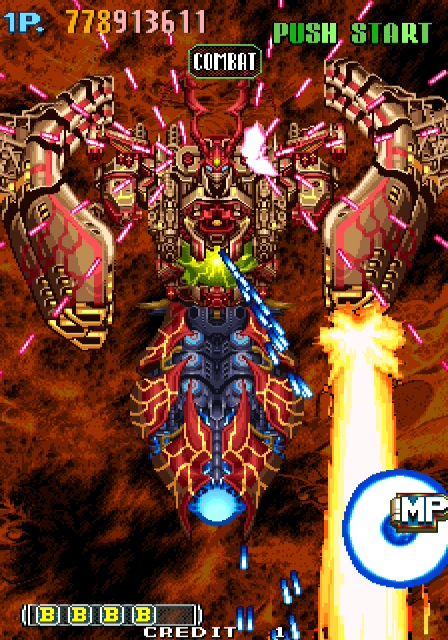
The 1997 release of Dodonpachi would go on to become a huge success for Cave, allowing them to continue making shooters for the arcade. Instead of making a sequel to Dodonpachi Cave would instead focus on creating new IP and worlds for their shooters. Other than the home console ports in 1997, the Dodonpachi series seemed to be over. But in 2001 a sequel to Dodonpachi was released: Dodonpachi II Bee Storm. Except, this game was not developed and published by Cave, but a company called IGS (International Games System). Bee Storm was IGS’ first shooter on the PolyGame Master, and thanks to the technological advances in the early 2000’s, the game featured a special mode that would upload a player’s scores to a global leaderboard on IGS’s site, which could then be viewed via a web browser. Many of the game’s bosses, backgrounds, enemies and animations were taken from Dodonpachi, with minor alterations or recoloring, but Bee Storm is still very much a DonPachi game. It features a strict chaining system, three different ship types, bee items, and bee enemies, a hidden bee boss. The only thing really missing is a story featuring some sort of Colonel tricking the player into committing massive genocide against the human race, and any mention of the DonPachi Squadron. Unlike the other DonPachi games up to this point, the main characters of Bee Storm are not human, but human-like, featuring strange glowing patterns on their skin, with the female character looking a bit too much like Morrigan Aensland from Capcom’s DarkStalkers series (Capcom also distributed the game in Japan). The game wants to make sure players know that Bee Storm really is a DonPachi game, and therefore first stage features a damaged (and pathetically easy) Taisabachi, the first hidden boss from Dodonpachi.

Story
Dodonpachi II‘s story is completely non-existent within the game, outside of a very vague intro cut scene, and a few stills to serve as the game’s ending. However, on IGS’ website, under the “Mission attack” button, players can view the backstory and what is going on during each level of Dodonpachi II. The gist of it is that many, many years after the events of Dodonpachi with the defeat of Taisabachi and Hibachi. Suddenly, an army of “mechanical aliens” awakens, and starts wreaking havoc once again. A team of three space ship pilots warp to where the aliens are attacking, to find out a dreadful truth: Taisabachi and its army have awoken from their slumber, and it’s up to the three brave pilots to lay them to rest once more.
Gameplay
In Bee Storm, players use a combination of an eight-way joystick and a total of four unique buttons. Players manipulate their ship’s movement by moving the joystick in the direction they wish to travel. Similarly to other DonPachi games, the A button in Bee Storm controls the ship’s shot, and holding the A button down will cause the ship to fire a Laser (which also has the Aura from the previous games). The B button will release a Spread Bomb if playing as the Bomb Type, or a Laser Bomb if playing as Energy Type. Players cannot have both types of bombs at their disposal as they did in Dodonpachi. The C button is set to act as an Auto-Fire option by default. Holding down the C button will automatically fire the ship’s shot, and if the player holds down the A button while the C button is held down, the A button will take priority and the ship will fire its Laser. Releasing the A button will cause the C button to take priority and continue its Auto-Firing frenzy. By pressing either the Start button, players can change their ship’s options so they act as the other ship’s option type. The order that the options cycle through are Type-A, Type-B, Type-C, and start on the player’s initial ship choice. This is great, as players can now receive the speed benefits of the Type-A ship, while being able to attack from the specific angles of the Type-C ship. However, while changing options, your ship is unable to attack, and the player is left defenseless (unless they bomb), so take care not to switch options at bad time! Oddly enough, players cannot pick the same ship type in 2 Player mode, but they can freely select which weapon type to use, Bomb or Energy. However, both players cannot use their Bomb/Laser Bomb at the same time for some reason. Additionally, IR mode is restricted to Energy Type only.

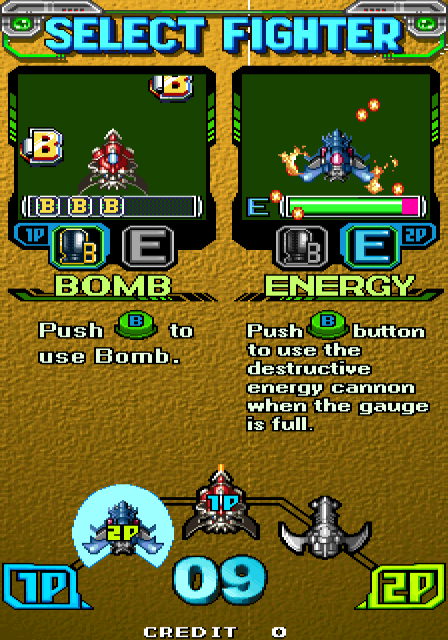
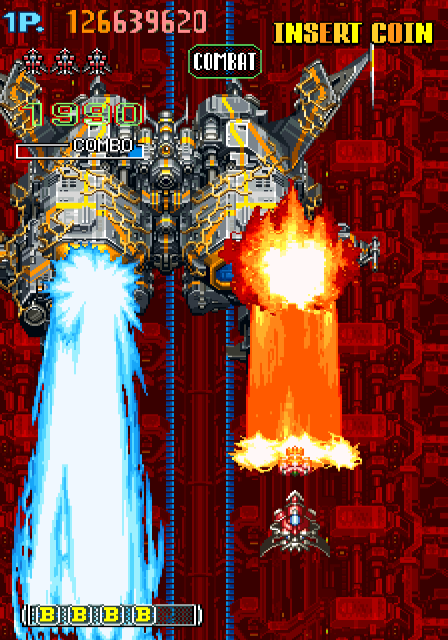
All three ships in Bee Storm use a combination of both Shot Type and Laser Types from Dodonpachi, making the ships seem feel like “best-of” versions of their Dodonpachi counterparts. The Type-A, B, and C ships have underwent a redesign for Bee Storm, but functionally, they are the same as they have been in previous games. The Type-A ship is still red, fires straight ahead, has the fastest Laser (in terms of startup), and remains the fastest of the three ships. This speed comes at a heavy price, as the Type-A’s Laser has the smallest width and its shot is the weakest of the three ship types. IGS recommends that this ship be used for those wishing to set high scores. The Type-B ship returns as a green Batplane ship, and not a helicopter this time around. In addition to a redesign, the Type-B options act differently than they did in Dodonpachi, rather than having the options fire in reaction to joystick movement, Bee Storm‘s Type-B options fire in a circular pattern around the craft, and can hit all targets within a 360° circle…when they eventually rotate around to it. Everything about the Type-B plane is in between the Type-A and Type-C crafts, meaning that it doesn’t excel in any one area, but instead serves as the most balanced crafts of the three. IGS recommends the Type-B ship for normal players. The third ship is the blue Type-C craft, and features the strongest shot, the widest laser, and the slowest movement speed of the bunch. Due to its slow speed and heavy weaponry, IGS recommends the Type-C ship for beginning players.
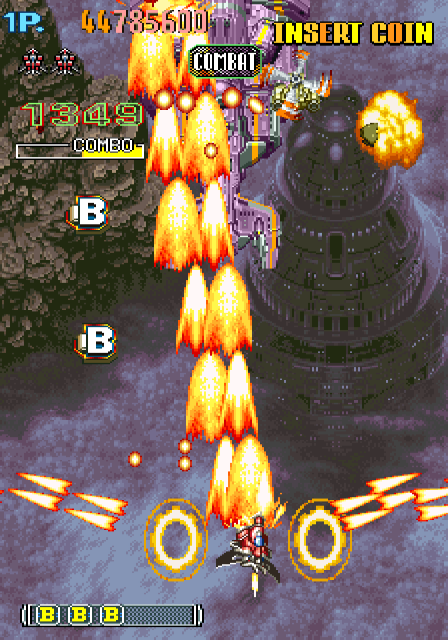
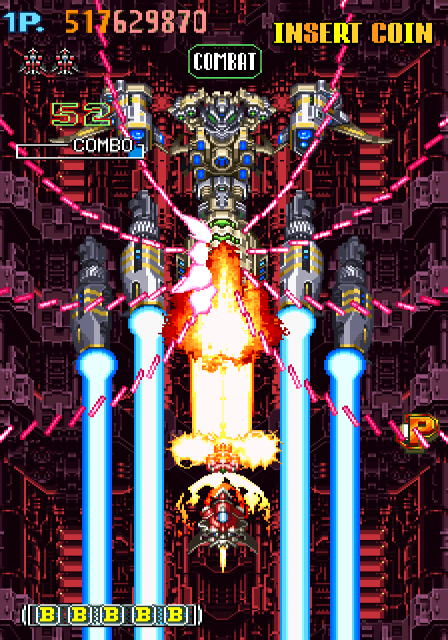
After selecting their ship, players then must choose what type of bomb they will use: Bomb or Energy. While the ships themselves feature both the Shot and Laser Types of Dodonpachi, they have lost the ability to use both the Spread Bomb and Laser Bomb at the same time. Bomb Type acts just like the Spread Bomb from Dodonpachi, converting all bullets onscreen into point items, damaging enemies, and making the player invulnerable for a short period of time. While using the Bomb Type, the player will have a bar at the bottom of the screen that shows them how many bombs they have left. The maximum amount of bombs a player can hold is five. Collecting a “B” icon will restock one bomb if there is an empty slot for it. The Energy Type acts as the Laser Bomb, and uses an energy meter instead of bomb items. The Laser Bomb can only be fired once the meter is at 100%, and is replenished by “scraping” enemy bullets. A “scrape” occurs when enemy bullets come into contact with the ship’s graphic, but not the ship’s cockpit, which would cause the player to lose a life. Therefore, the Energy Type puts an emphasis on “reckless” play, rewarding players for expertly navigating through an incoming sea of multi-colored death. While both modes have their pros and cons, Energy mode is has the highest potential for scoring thanks to a nifty special technique that will be explained in the scoring section.

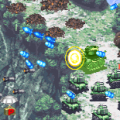
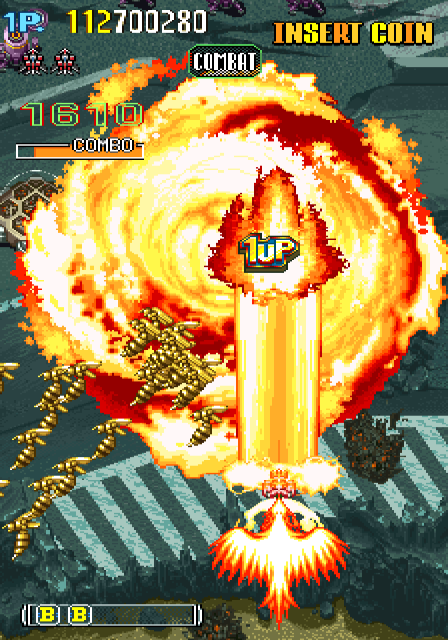
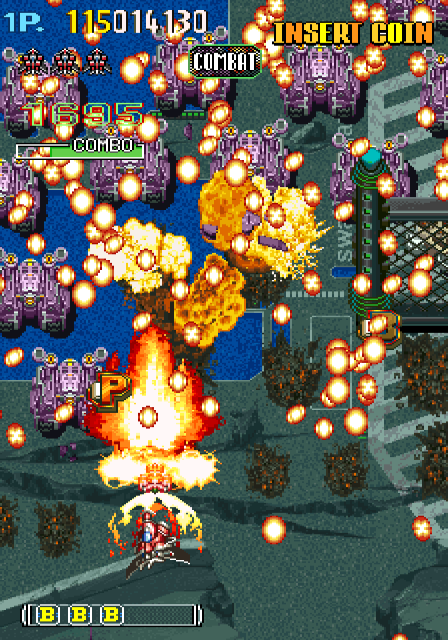
The four level power-up system, “P”, and “MP” items from Dodonpachi return unchanged in Dodonpachi II Bee Storm. The “B” bomb items also make a return, but will only grant a bomb to Bomb Type players. Collecting either of these items automatically adds 50,000 points to the player’s score, regardless if they are at the max level or not. If a player gets hit and loses a life, their weapon’s power level is only reduced by one level, and conveniently, a power-up icon is thrown out whenever a player dies, so it’s easy to get back up to full strength. The golden bee icons are no longer hidden in each stage, instead serving as a 20,000 point item that can be triggered by performing certain actions. Gone too are the star chips from previous games, and replacing them are three different sizes of beehive badges. The smallest beehive badge is worth 2,000 points, and is generally created from small enemies, and canceled bullets. The medium sized beehive badge is worth 10,000 points, and the large beehive badges are worth a whopping 100,000 points. The big beehive badges are usually found by bombing certain areas of a stage, or destroying a part of a boss. Bee Storm has no default extends, but it does have a 1-Up item in Stage 4. By destroying all of the fence posts in the stage will cause a spider with optic camouflage to appear behind a wall later in the stage, destroying this spider will yield the games’ one and only extra life.
Scoring
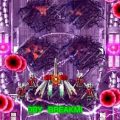
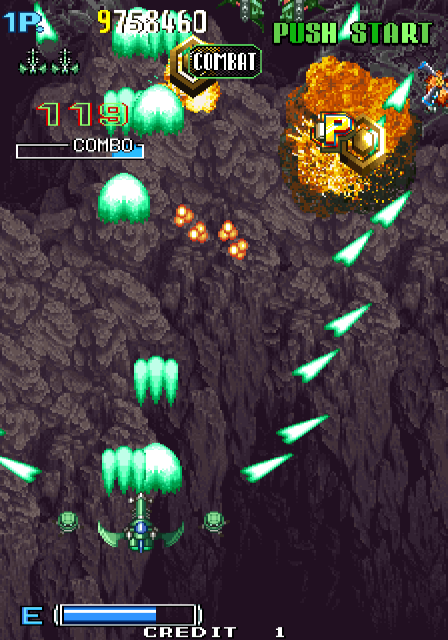
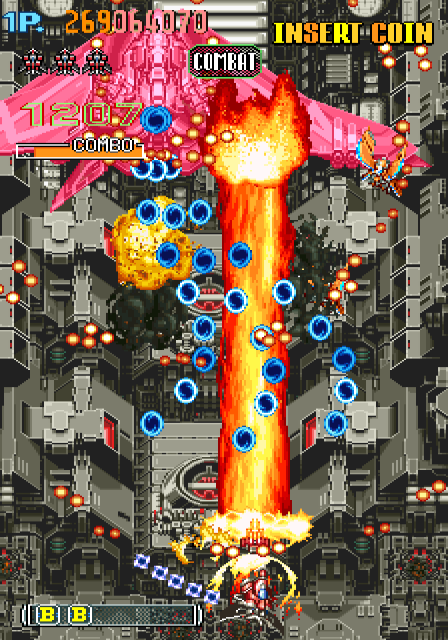
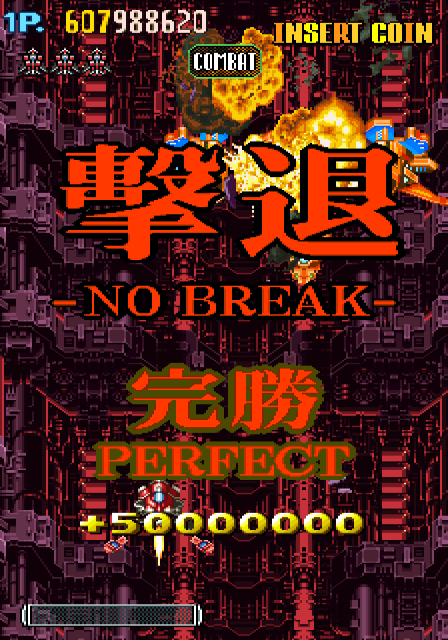
Like its predecessors, Dodonpachi II Bee Storm also features a chaining system as the main scoring mechanic. Bee Storm‘s chaining system works like a combination of the stage and boss chaining systems in Dodonpachi. Bee Storm‘s chaining system features a timer that increases with each destroyed enemy, and can be stalled by hitting a big enemy with the Laser. While the timer is not empty, hitting an enemy or boss with a Shot or Laser will cause the chain’s hit counter to increase. The counter’s value multiplied by 10 is added to the total score each time the counter increases. If the timer runs out, rather than just dropping the combo, as was the case in DonPachi and Dodonpachi, the counter will rapidly tick down while the words “COMBO DOWN” flash above the bar. Overall, it’s a change touch that makes scoring in Bee Storm much easier.

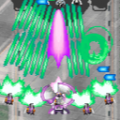
The easiest way to score is to go through each stage trying to get a very high combo multiplier, and then scratching the boss with the Laser’s Aura for huge score bonuses. In Bee Storm each time the Laser’s Aura hits something, it adds 1,000 points multiplied by the number of hits in the current combo. Another key technique in scoring, and even survival, is to build up another Energy bar while simultaneously using a Laser Bomb. During a Laser Bomb, coming into contact with a bullet will cancel it, both due to the Laser Bomb itself, and the invulnerability of bombing, but, if a player approaches at the right angles, they can register a scrape against the bullets before they are canceled. The game continues to register these scratches, and once the Laser Bomb has finished, will properly add them to the energy bar, meaning that it is possible to “stock” another Laser Bomb while one is being fired. Because of the large amount of hits the Laser Bomb can generate in a very short amount of time, this is a crucial technique for building large chains to “cash in” during the boss battles.
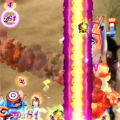
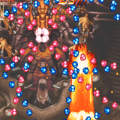
Bee Storm is full of little secrets that can be worth a good amount of points. For example, destroying the four bee enemies before Taisabachi in the first stage will cause the boss to spew out bee icons every time it’s hit. Combined with the ability to destroy bits and pieces of the boss (in this case its wings), players can milk out a good five or six hundred thousand points just from the bee icons (in addition to scratching the bullets for 10,000 points each). Destroying the individual parts of a boss will not only add a set amount to the player’s score, but will also convert all bullets on the screen into different sizes of beehive badges (it depends on the boss and part destroyed). Destroying all parts of a boss may also cause “B” or “P” items to spawn as well, so it’s very beneficial to dismantle each boss piece by piece. If playing as a Bomb type, even more secrets can be uncovered. Bombing in certain areas can cause a fountain of golden bees to pour out, and bombing again will turn those 20,000 point bee icons into 100,000 point beehive items. Additionally, certain enemies will turn all onscreen bullets into small beehive badges when destroyed, and is best to destroy them when the screen is full of bullets to maximize the number badges it creates.
Final Thoughts
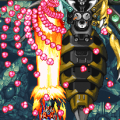
There are a number of sections and even bosses with absolute safe spots, in fact, players can time out Taisabachi by simply not moving from the initial spawn point, they will even scratch against bullets and get some points that way. Most of the boss patterns are relatively weak, and fail to meet the level insanity that Dodonpachi manages to reach. But the game also suffers from some enemy placement and balancing issues. There are numerous sections where a player’s death will come from a number of tiny sniper enemies with barely visible shots, followed up by a section where the screen becomes filled with enemies that take multiple hits to kill. The game also doesn’t know what to do with its items at times. Here’s an example: in the last half of the third stage, players can spawn a “B” or “P” (it’s random) item by destroying one of the large blue ships, but there are at least 10 of these ships in a row, and there are other power-up ships in between them. But this works to the player’s advantage if they score over 400,000,000 points and make it to the secret seventh level, as the game offers a chance to stock back up on power-ups and bombs before facing the game’s hidden boss. Don’t worry, as continuing the game does not reset the player’s score, so it is pretty easy to reach him. Also, Bee Storm has a few different revisions and special region variants that cause certain aspects of the game behave differently. For example, if playing on a non-Japanese version of the game, players will start off with five bombs every life, whereas the Japanese versions will only start out with 3. Another regional difference is that the Taiwanese version of the game gives out less bonus items than the other versions.
Still, despite its flaws, Dodonpachi II Bee Storm is a surprisingly fun game. It does not stand up there with the majority of Cave’s shooters, but it’s still one of the best shooters IGS has made. Because the game starts off so pitifully easy, and its slow difficulty curve, it’s a good entry game for those who are new to shooters, with most of the advanced shoot-em-up techniques being used here as well. That said, bullet-hell maniacs and shoot-em-up experts may find themselves wanting more than what the game has to offer.
Links:
Dodonpachi II 1CC A 1CC of all stages using Energy Mode
Dodonpachi II OST A YouTube link of the entire Bee Storm OST
Bee Storm Official Site The Engrish version of IGS’ Bee Storm website